Quick Start
Follow the steps below to quickly set up and start using Interlace APIs.
Welcome to the Interlace API Documentation. Interlace provides APIs for card issuing, banking accounts, crypto infrastructure, payment acquiring, and embedded financial services.
This Quick Start guide will help you set up your environment, obtain API credentials, generate access tokens, and begin integrating with Interlace APIs.
Step 1 — Create Your Account
-
Sandbox: Register a test account in the sandbox portal.
-
MOR Mode: staging.interlace.money
-
Gateway & Distributor Mode: staging-distributor.interlace.money
-
-
Production: Once testing is complete, register an account in the production portal.
- MOR Mode: www.interlace.money
- Gateway & Distributor Mode: distributor.interlace.money
Step 2 — Get API Keys
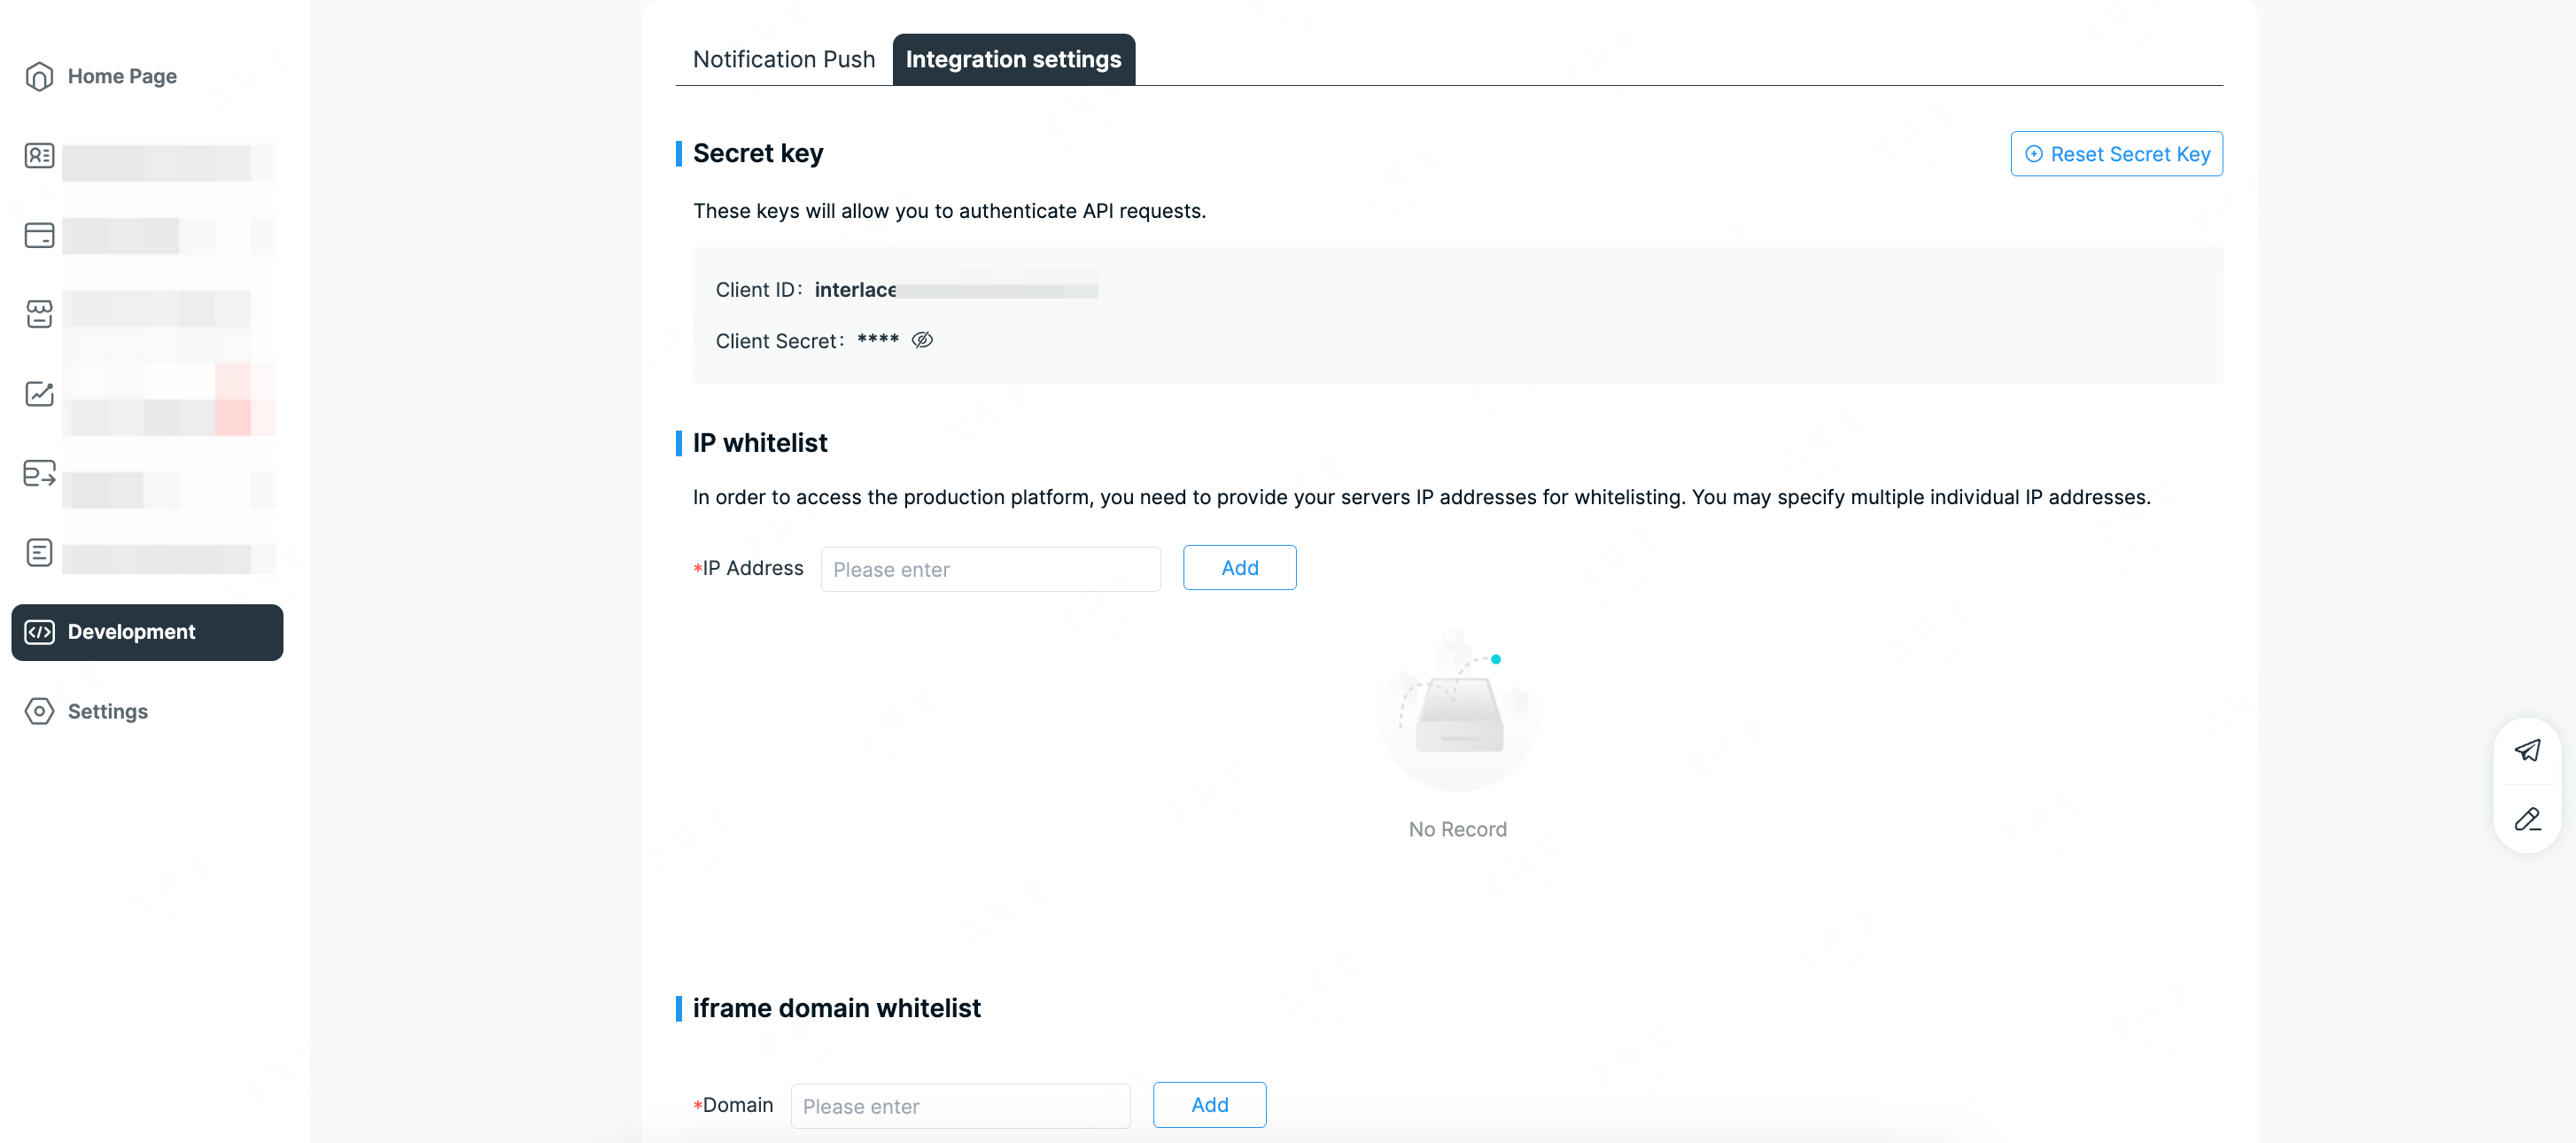
- Sandbox: After your Technical Support Engineer enables API access, you can get your
clientIdandclientSecretfrom Merchant Portal → Development Settings (MOR mode), or via your Technical Support Engineer (Gateway/Distributor mode).
-
Production: API access requires internal approval.
-
Please first confirm with your Relationship Manager.
-
Once the approval workflow is completed internally, your Relationship Manager will coordinate with the Technical Support Engineer to enable access.
-
MOR Mode:
clientIdandclientSecretcan then be found in the Merchant Portal → Development Settings and will also be sent to your registered email. -
Gateway/Distributor Mode: API Keys will be sent to your registered email.
-
-
Additional settings:
-
IP Whitelist: Required in production, optional in sandbox. Please whitelist the following Interlace server IP addresses to ensure stable API communication.
Production Environment
- 47.88.34.101
- 47.88.103.100
- 47.88.61.14
- 47.89.250.82
- 47.89.240.147
- 47.88.57.67
Sandbox Environment
- 120.25.101.116
- 47.254.89.98
- 47.89.240.147
-
Webhook URL: Optional in both environments. (HTTP allowed in sandbox, HTTPS required in production.)
-
Step 3 — API Environments
Interlace provides both sandbox and production environments for API integration and testing. The sandbox environment allows you to safely test your integration without generating actual financial transactions.
- Sandbox: https://api-sandbox.interlace.money
- Production: https://api.interlace.money
Step 4 — Generate Access Token
1. What is an Access Token?
An Access Token is a unique credential that authorizes your application to call Interlace APIs. It grants access to privileged operations and must be kept confidential at all times.
-
All API requests must include a valid access token in the request header.
-
Requests without authentication will be rejected.
-
All requests must be made over HTTPS.
-
Access tokens expire after a limited time and must be refreshed periodically.
2. How to obtain an Access Token?
This process involves two steps:
-
Get Code
- Call the "Get a code" API with your
clientId. - An authorization code will be returned upon success.
- Call the "Get a code" API with your
-
Request Access Token
- Call the "Generate an access token" API with your
clientIdandcode. - An
accessTokenwill be returned upon success.
- Call the "Generate an access token" API with your
3. Example Authentication Flow
- Get Code
# Replace ${CLIENT_ID} with your client id
curl -H 'Accept: application/json' \
  -X GET --url https://api-sandbox.interlace.money/open-api/v3/oauth/authorize?clientId=${CLIENT_ID}
💡 Successful Response
{
    "code": "000000",
    "message": "success",
    "data": {
        "timestamp": 1757994757,
        "eventType": "order.completed",
        "orderId": "3ba98d5fac2cf610a942e6a93f011ea8"
    }
}- Request Access Token
# Replace ${CLIENT_ID} with your client id
# Replace ${AUTH_CODE} with your code
curl -H 'Accept: application/json' \
  -X POST --url https://api-sandbox.interlace.money/open-api/v3/oauth/access-token \
  --data "{
    \"clientId\": ${CLIENT_ID},
    \"code\": ${AUTH_CODE}
  }"
💡 Successful Response
{
    "code": "000000",
    "message": "success",
    "data": {
        "accessToken": "808d7d5e8a310848ab0f3cfd49d6e428509a63e9",
        "refreshToken": "78ce95427a0d0b6e5539fe230f0fb9538a964597f10012fa714d52b642fca294",
        "expiresIn": 86400,
        "timestamp": 1757994759
    }
}
Next Steps
After completing the basic authentication setup, you can continue with the integration guide that matches your business scenario.
Acquiring & Payment Processing (AaaS)
Use the Acquiring APIs to process card payments, integrate 3DS authentication, and manage payment flows.
View Acquiring Integration Guide
Agent Card
Use Agent Card APIs and MCP tools to issue AI agent cards, manage top-ups, and retrieve card details.
Business Accounts & Transfers (BaaS)
Use the BaaS APIs to onboard entities, create busines accounts, manage balances, and initiate fund transfers.
Card Issuing (CaaS)
Use the CaaS APIs to create cardholders, issue virtual or physical cards and manage spending controls.
Crypto Wallet & Stablecoin Services (WaaS)
Use the WaaS APIs to manage wallets, handle stablecoin transfers, and integrate crypto-related capabilities.
Updated 2 months ago